特效介绍
简单的淡入淡出幻灯图片jQuery代码,带向左向右按钮和标题。
使用方法
1、引入下面的css代码:<link rel="stylesheet" href="images/5.jimth.com.css" />
<style>
.container {
position: relative;
width: 480px;
height: 360px;
margin: 0 auto;
}
.container img {
position: absolute;
top: 0;
left: 0;
z-index: 10;
}
.container span {
position: absolute;
top: 20px;
left: 10px;
width: 440px;
padding: 10px;
color: #FFF;
background: url('images/bg.png');
z-index: 11;
}
.container span a {
float: right;
color: #FFF;
font-size: 12px;
}
.tooltip {
position: absolute;
display: none;
padding: 3px 10px;
background: #fff;
color: #222;
border: 1px solid #CCC;
font-family: Arial;
font-size: 10px;
text-transform: uppercase;
letter-spacing: 1px;
z-index: 11;
}
</style>
2、引入下面的js代码和jQuery库:<script type="text/javascript" src="https://5.jimth.com/download/jquery/jquery-1.8.3.min.js"></script>
<script language="javascript">
$(document).ready(function() {
$(".container img:first-child").addClass('last');
$(".container img").click(function() {
$(this).fadeOut('normal', function() {
if ( $(this).hasClass('last') ) {
$("img", $(this).parent()).css('z-index', 10);
} else {
$(this).css('z-index', 9)
}
$(this).show();
});
});
//鼠标移上去显示按钮
$(".container").mouseenter(function() {
$(".tooltip", this).show();
}).mousemove(function(e) {
$(".tooltip", this).css({
'top' : e.pageY - this.offsetTop + 8,
'left' : e.pageX - this.offsetLeft + 15
});
}).mouseleave(function() {
$(".tooltip", this).hide();
}).append('<div class="tooltip">Next</div>');
//鼠标移出去隐藏按钮
$(".container span").mouseenter(function() {
$(".tooltip", $(this).parent()).hide();
}).mouseleave(function() {
$(".tooltip", $(this).parent()).show();
});
});
</script>
3、在body添加下面的代码:<div id="content">
<div class="container">
<img src="images/1.jpg" alt="" />
<img src="images/2.jpg" alt="" />
<img src="images/3.jpg" alt="" />
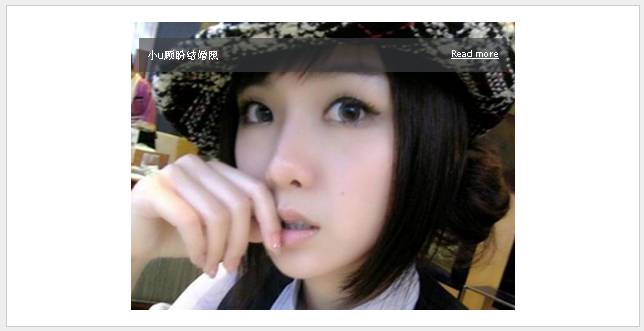
<span>小u顾盼结婚照<a href="javascript:;">Read more</a></span>
</div>
</div>